
SSL Certificates 101
This is not an exhaustive description about SSL certificates.
Instead it is an explanation about why self-signed SSL certificates doesn’t always work for you and a high level description of what you need to do in order to install a trusted SSL certificate on the Azure image.
First… – understanding DNS (Dynamic Name Service)
In order to understand the usage of SSL certificates, we need to understand the DNS. The DNS is like the Phone/Address Book of the internet.
If you create a NAV demo environment using http://aka.ms/navdemodeploy you will find a PublicIP resource under the resources of your environment. Clicking the PublicIP resource will display the properties:
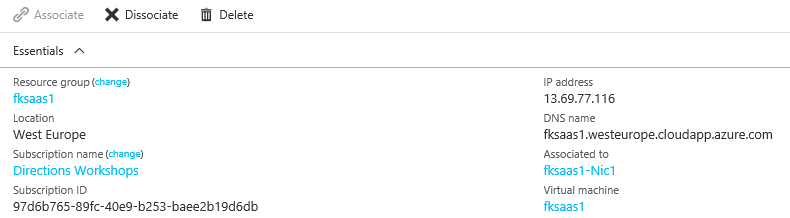
the DNS name is fksaas1.westeurope.cloudapp.azure.com and the IP address is 13.69.77.116. Azure machines do not have a fixed IP address, meaning that you cannot be sure that IP address assigned will stay the same. You can probably get a fixed IP address, but for the sake of explaining DNS it is not important.
If you use a public DNS query tool (like http://www.dnsqueries.com/en/dns_lookup.php) to lookup the DNS name, it will return the IP address and in my case, with a TTL (Time To Live) of 9 seconds. Meaning that we can only trust the IP address for 9 seconds. In fact if I shut down the VM and query the DNS name again, the DNS will return 255.255.255.255 (which isn’t a real machine, just a placeholder).
Starting the VM again will assign a new IP address to the DNS name (in my case 104.40.152.104).
Lets for simplicity say, that the IP address is my home address (street, city, country) and my DNS name is my universally unique name.
Visiting Freddy
If you then drive up to the home address for Freddy, you ring the door bell and somebody answers the door, you identify yourself and ask the person to identify himself (although you just got the address in the Phone/Address Book, so it should be Freddy), because you want to initiate a confidential communication with Freddy.
The person now provide a proof of identity, explaining who he is:
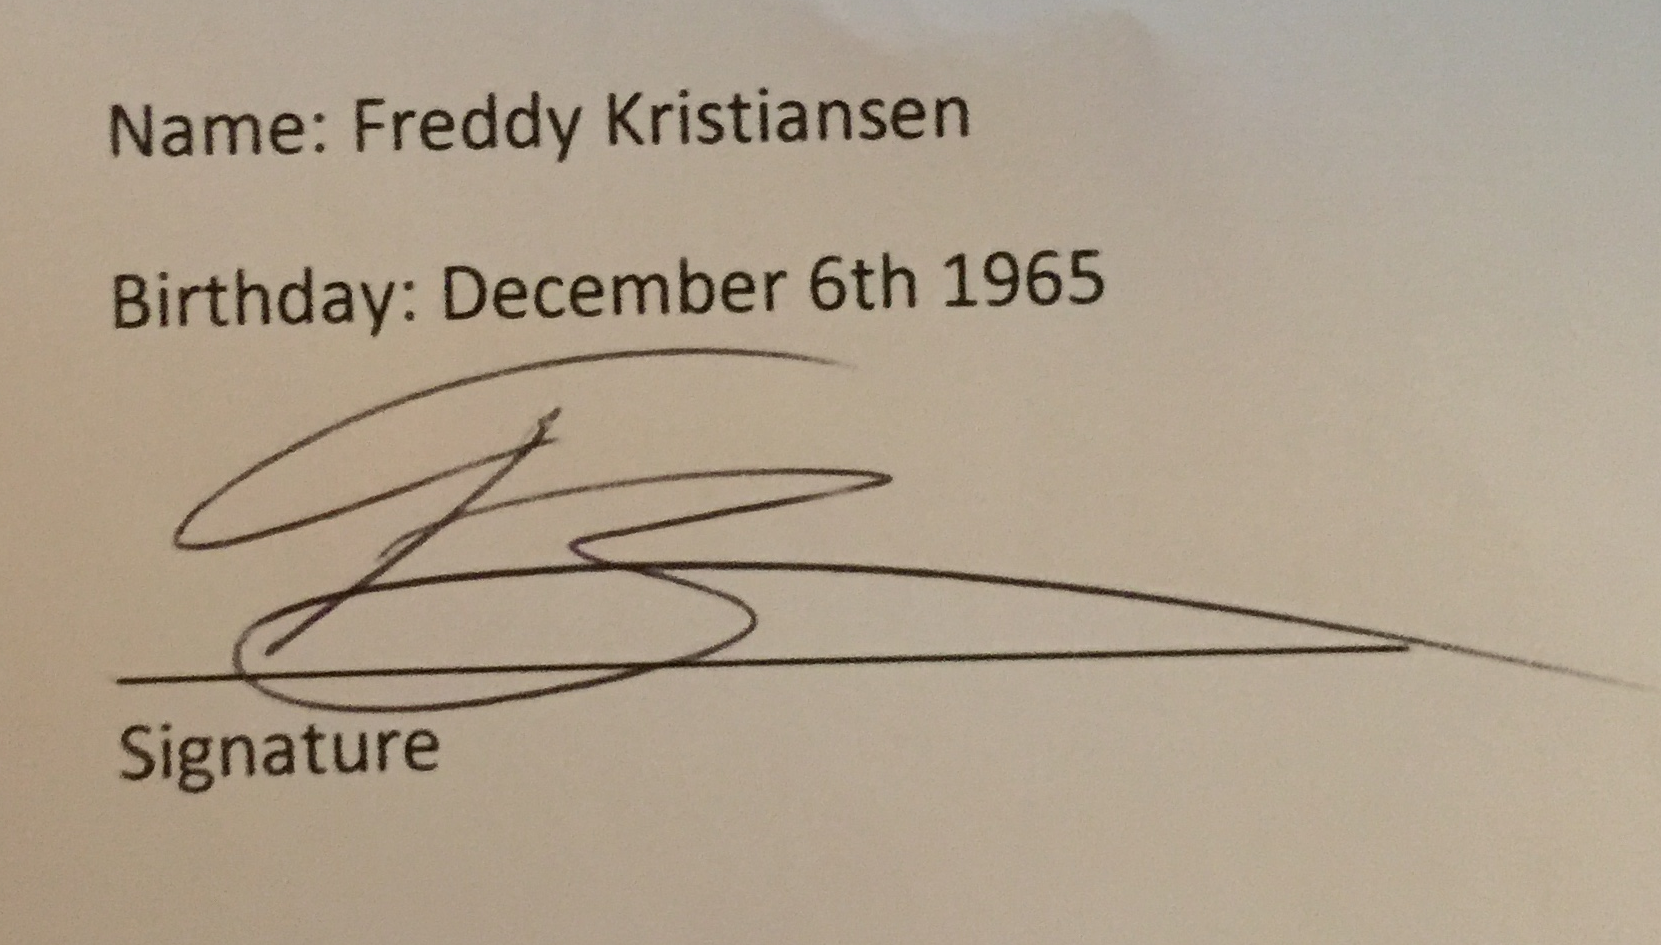
Do you trust this? It is clearly a self-signed proof of identity. It does indeed state that the person is Freddy and what his birthday is, but can you trust it? If the person instead had provided a drivers license:
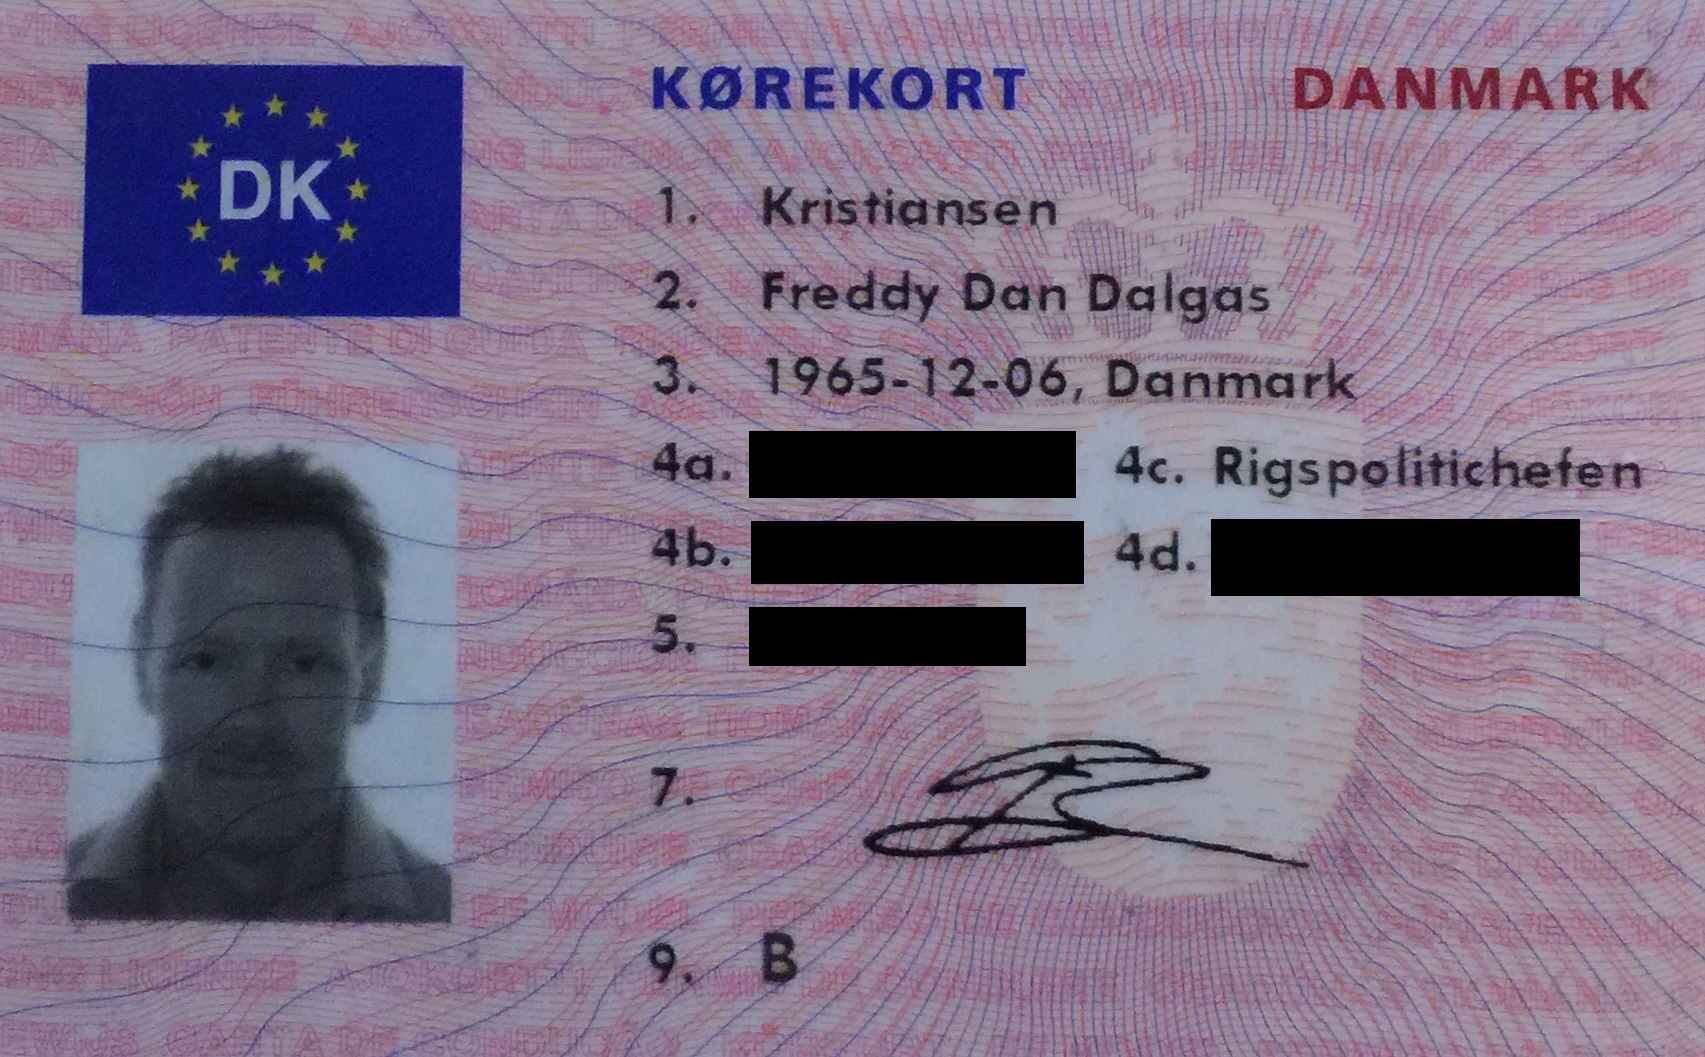
Then you might have been more inclined to trust that the person indeed was Freddy. The reason for this is, that you trust the issuer: Rigspolitichefen (City Police). Lets look at another proof of identity:
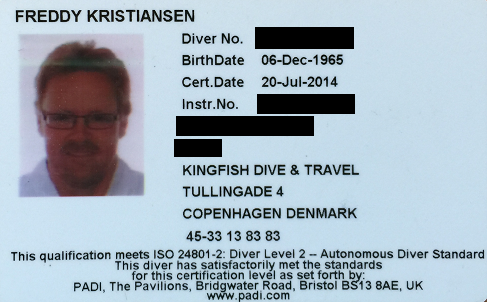
Clearly not self-signed. Signed by PADI, but do you trust this issuer? or what about this
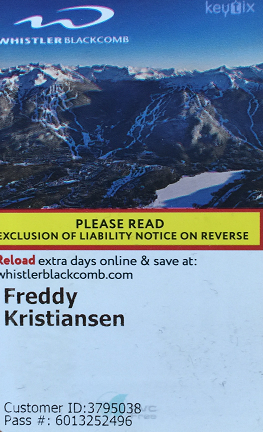
Clearly not self-signed either, but probably also not useable as proof of authentication, even though the ski area actually would trust this to be me.
What does this have to do with SSL Certificates?
The way your browser works is pretty much the same. Somebody type in the URL for your server in the browser. The browser connect to the server (using DNS to resolve the IP address). The browser will identify itself and if you are using HTTPS (secure communication), the browser will ask your server to identify itself.
The server will provide a SSL certificate and if it is a self-signed certificate, your browser will tell you that there is a problem:
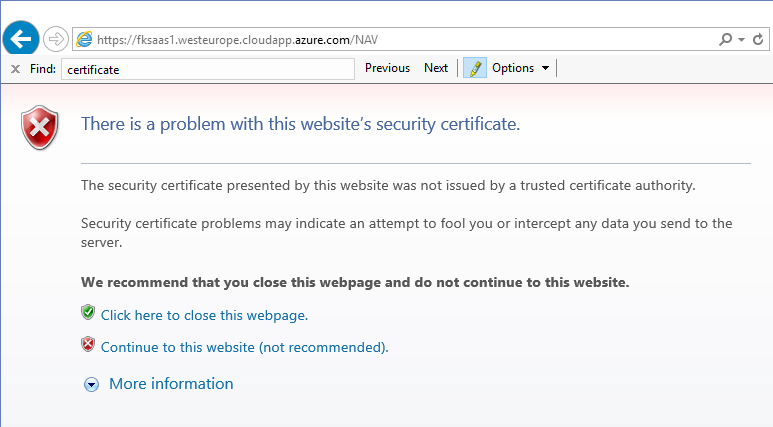
This is the browsers response to getting presented with the piece of paper, which I signed myself stating that I am Freddy.
Continuing to the Web Site and looking at the self-signed certificate:
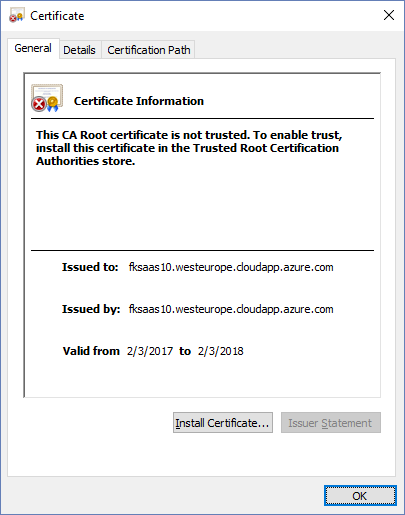
Note the Install Certificate button is only visible if you are running as an administrator.
This certificate is just as trustworthy as the piece of paper, mentioned before. Anybody can create a self-signed certificate stating they they are mytrustedbank.com or any other web site and the only thing that it would take to cheat people would be to add mytrustedbank.com to their hosts file or in other ways intercept DNS resolution. It is important for people to know, that the server they are communicating with (sending confidential information to) could be anyone.
If you know that this self-signed certificate is OK, you can install the certificate into the Trusted Root Certification Authorities, which in effect means that your browser will stop being too obstructive.
Let’s look at a “real” certificate (not self-signed):
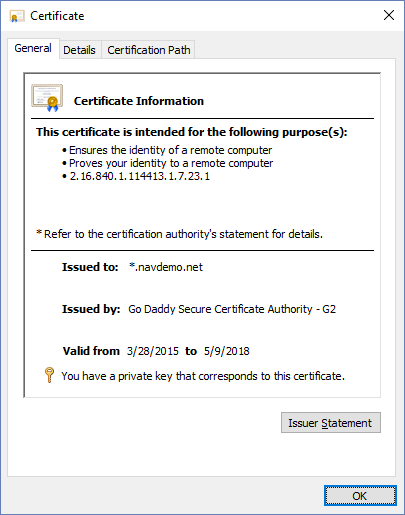
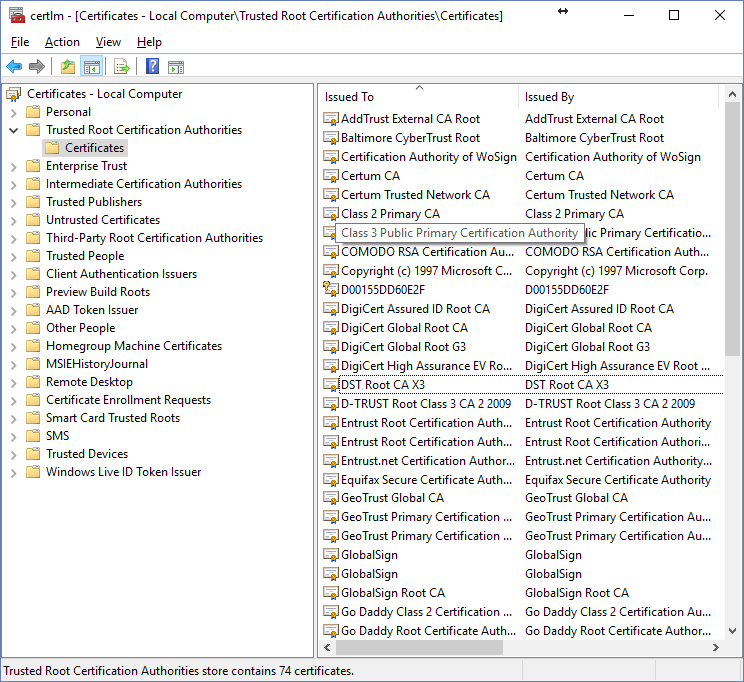
This certificate is issued by Go Daddy and if we follow the certificate chain, we will indeed find that Go Daddy has a Root Certificate in your Trusted Root Certification Authorities:
Who trusts who?
Again, if somebody connects to your server and your server is signed using a self-signed certificate, then this somebody will need to trust your self-signed certificate. A lot of online services will not support communication with a self-signed certificate, simply because they don’t want to be in the business of figuring out whether or not the certificate is trustworthy or not.
There is a good process for this: Buy a SSL certificate at a trusted authority, then they know that you are trustworthy.
Using a “real” SSL certificate with the NAV Azure Gallery Image
When you purchase a “real” SSL certificate from a trusted authority, you will of course need to be the owner of the domain name for which the certificate is issued. This means that you cannot create a certificate for .cloudapp.net or .westeurope.cloudapp.azure.com. These domains are Microsoft property.
Instead you need to buy your own domain name and a certificate for this. In my sample (from above), I want to secure the fksaas10.westeurope.cloudapp.azure.com with a “real” certificate. The domain name I have registered is NAVDEMO.NET and I purchased a star-certificate for NAVDEMO.NET.
So, what I need to do is, to create a CNAME record in the DNS under my domain name. Example:
fksaas10.navdemo.net CNAME fksaas10.westeurope.cloudapp.azure.com
This basically means that whenever people try to connect to fksaas10.navdemo.net, the browser will resolve the CNAME and then resolve the fksaas10.westeurope.cloudapp.azure.com in order to get the IP address to communicate with.
The reason for not creating an A record in your DNS is of course that the IP address might change.
Having created your CNAME record, you need to specify 3 values to the http://aka.ms/navdemodeploy deployment template:
- Certificate Pfx Url – needs to the the Url of your downloadable .pfx file (or a base64 encoding of this). If you select to specify a URL, you can upload the file to a secure azure storage and create a Secure Access Service Url for it.
- Certificate Pfx Password – needs to be the password for the Certificate.
- Public Machine Name – needs to be the hostname of your service. In the above example this would be fksaas10.navdemo.net.
Enjoy
Freddy Kristiansen
Technical Evangelist