
As explained in the first blog post about AL-Go for GitHub the next post would be all about how to migrate your repository to AL-Go for GitHub.
Whether you have a setup based on the first CI/CD Hands-On-Lab or you have the latest generation, it should be fairly easy to migrate to AL-Go and get all the benefits with that, but it is a manual process.
The following scenarios are described in this post:
- From a CI/CD HOL based repo on GitHub
- From a CI/CD HOL based repo on Azure DevOps
- From GitHub (if you are “just” using it as a source code repository)
- From Azure DevOps (if you are “just” using it as a source code repository)
- From nothing (if you just have the source code on your laptop)
- From nothing (if you just have some .app files, but not the source code)
Last, but not least there are some common questions you need to consider when using any DevOps setup really.
From a CI/CD HOL based repo on GitHub
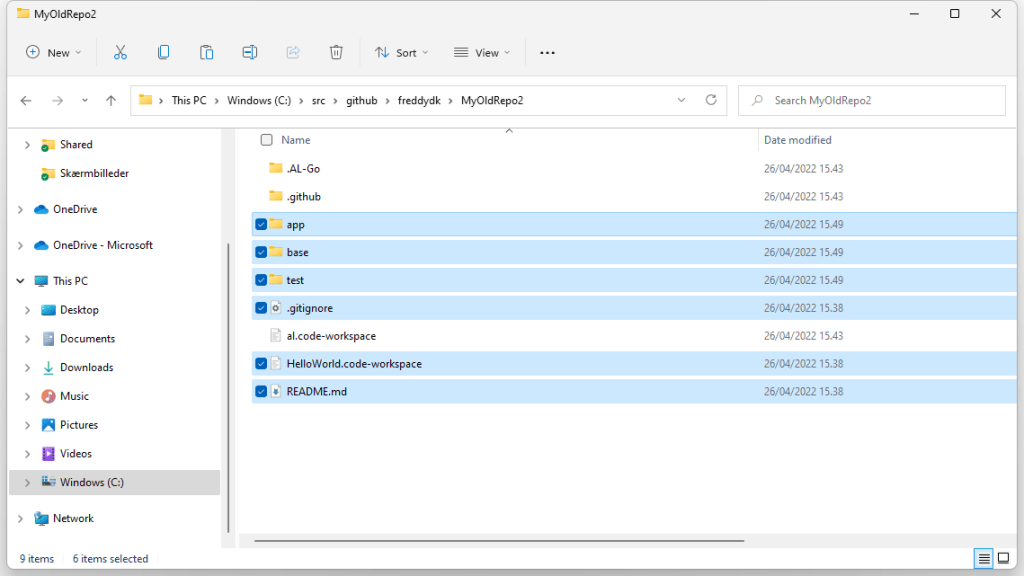
In this example, I have a repository called freddydk/MyOldRepo, which was created using the old Hello World template (https://github.com/businesscentralapps/Old.HelloWorld), used in the latest version of the CI/CD Hands-On-Lab. In order to keep my development history from the current repository, I will just make the change as a PR and apply that.
In my case, this is a PTE, but the process is the same for AppSource apps. My repository looks like this on GitHub:

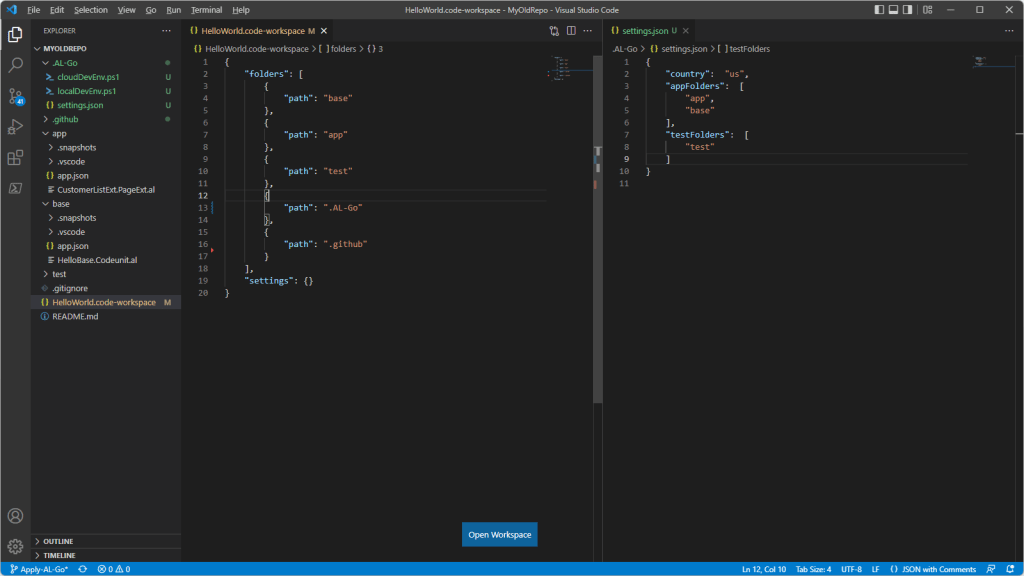
and like this in VS Code:

Make sure that you do not have any pending changes to checkin. Create a new branch for applying AL-Go and push the branch to the repo.

Delete the .AzureDevOps folder and the .github folder. Download the PTE template to your computer and unpack the .zip file. Use the AppSource template if your app is an AppSource App. Copy the two folders: .AL-Go and .github
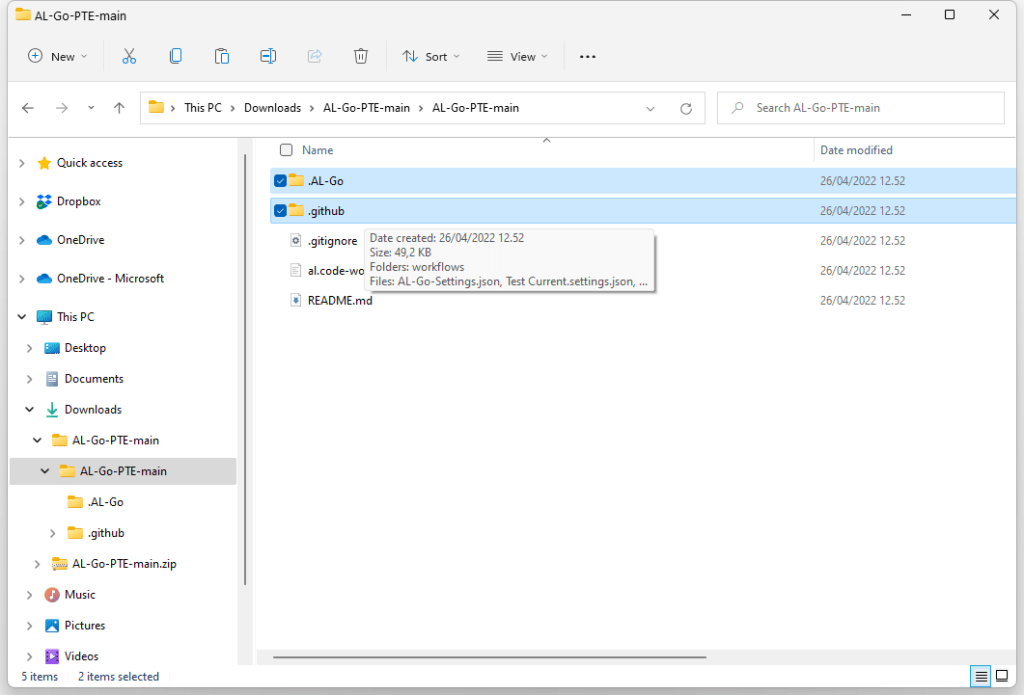
and paste them into the root folder of your repository

Now you need to transfer values from your old settings file (scripts\settings.json) to the AL-Go settings file (.AL-Go\settings.json). A few things to note:
appFolders, testFolders and additionalCountries are now a .json array and not a comma separated string.
previousApps are automatically taken from the latest release from the repository, you would need to create an initial release as the first thing after moving to AL-Go and use this as a baseline
installTestRunner, installTestFramework, installTestLibraries and installPerformanceToolkit can be specified, but they are auto calculated based on dependencies.
installApps and installTestApps are also .json arrays instead of comma separated values – AL-Go supports a different mechanism when specifying dependencies which you can add later.
change the country setting in the AL-Go settings file to be your primary development country and then remove the scripts folder.
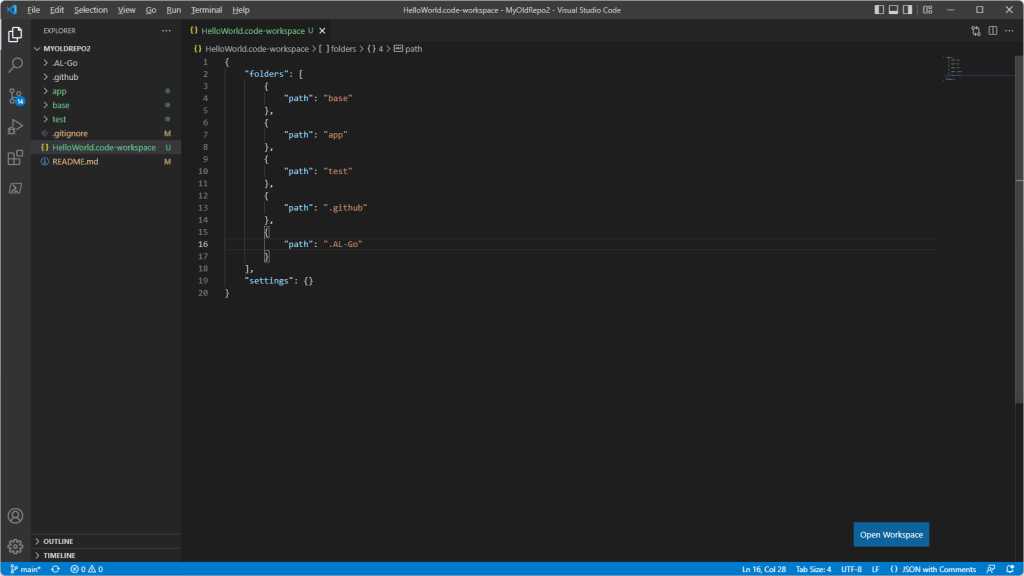
Lastly – modify the .code-workspace file to reflect the new folders.
Commit, Push, create Pull Request, Confirm Merge and watch the CI/CD pipeline start…

After a while, the PR CI/CD should complete.

With this, there are some common topics you need to consider. Please go to the last section for this.
From a CI/CD HOL based repo on Azure DevOps
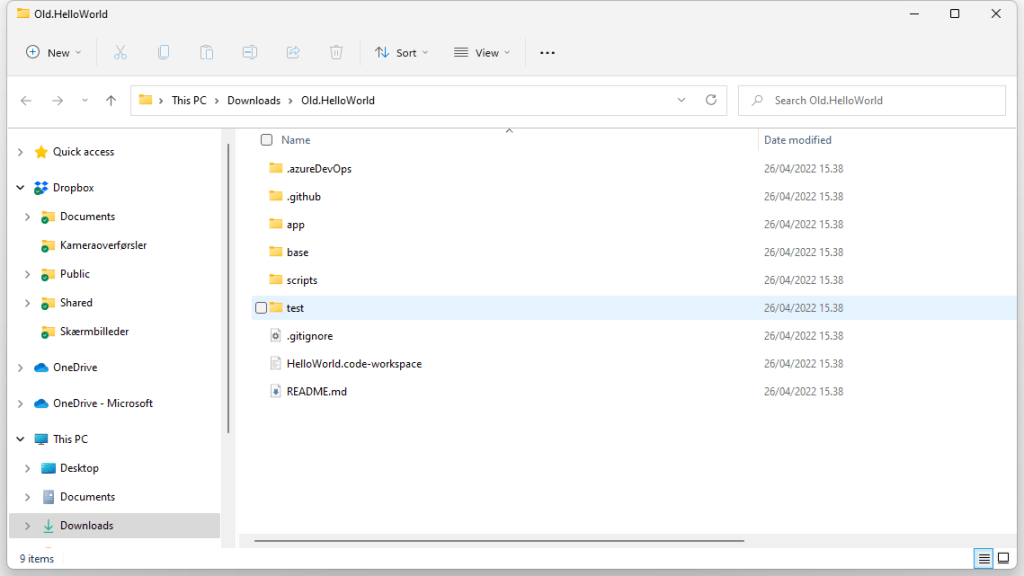
In this example, I am using the Old HelloWorld sample from Azure DevOps (https://dev.azure.com/businesscentralapps/Old.HelloWorld/_git/Old.HelloWorld). Instead of cloning the repo, I download the content of the repo as a .zip file and extract the content.

giving me a file structure like this
In your browser, navigate to https://aka.ms/al-go-pte (for PTEs) or https://aka.ms/al-go-appsource (for AppSource apps) and click the Use this template button.
Select an organization, a name and the visibility of the project.

Looking like this in VS Code on your local box.

Now Copy and paste all folders (except for .AzureDevOps, .github and scripts) from your old repository (the extracted .zip file).
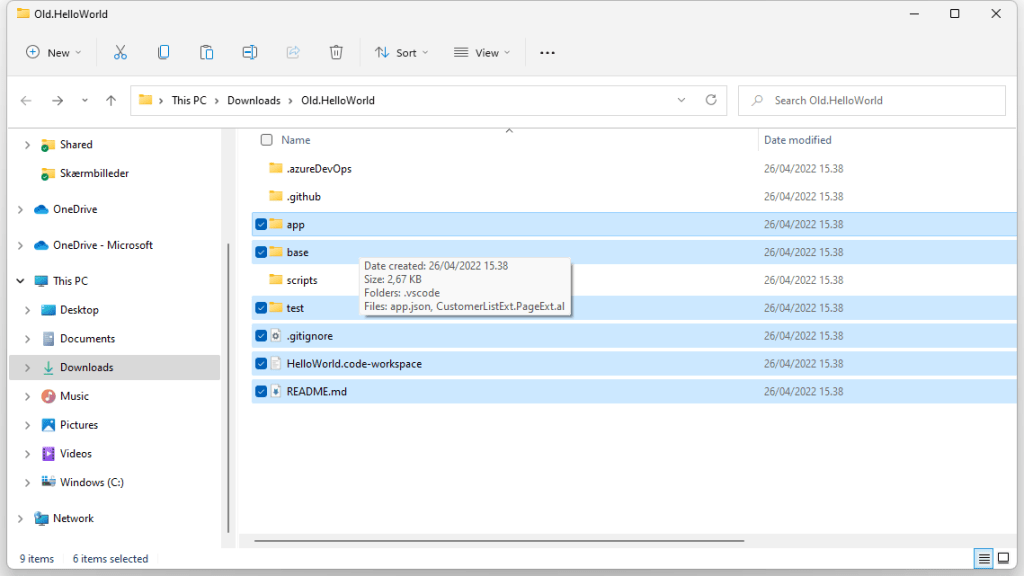
and paste them into the new repo
Remove the al.code-workspace and modify your .code-workspace file to reflect the new folders.
Now you need to transfer values from your old settings file (.zip-file\scripts\settings.json) to the AL-Go settings file (.AL-Go\settings.json). A few things to note:
appFolders, testFolders and additionalCountries are now a .json array and not a comma separated string.
previousApps are automatically taken from the latest release from the repository, you would need to create an initial release as the first thing after moving to AL-Go and use this as a baseline
installTestRunner, installTestFramework, installTestLibraries and installPerformanceToolkit can be specified, but they are auto calculated based on dependencies.
installApps and installTestApps are also .json arrays instead of comma separated values – AL-Go supports a different mechanism when specifying dependencies which you can add later.
change the country setting in the AL-Go settings file to be your primary development country and then remove the scripts folder.
Commit, push, create Pull Request, Confirm Merge and watch the CI/CD pipeline start and finish…

After a while, the PR CI/CD should complete. With this, there are some common topics you need to consider. Please go to the last section for this.
From GitHub (if you are “just” using it as a source code repository)
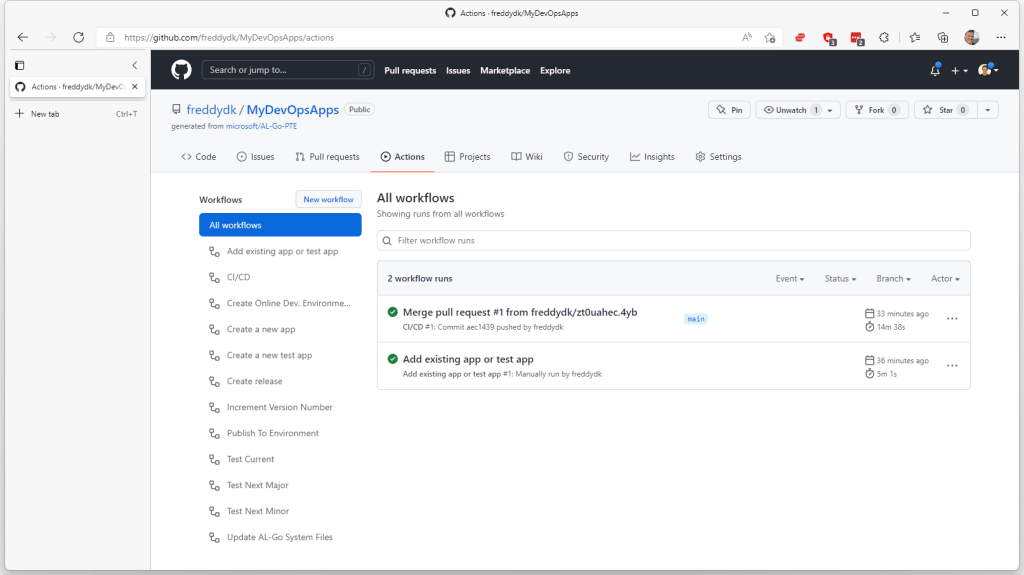
In this example, I have a repository called freddydk/MyGitHubApps, which contains 2 apps and a test app, and I want to add AL-Go.
In my case, this is a PTE, but the process is the same for AppSource apps. My repository looks like this on GitHub:
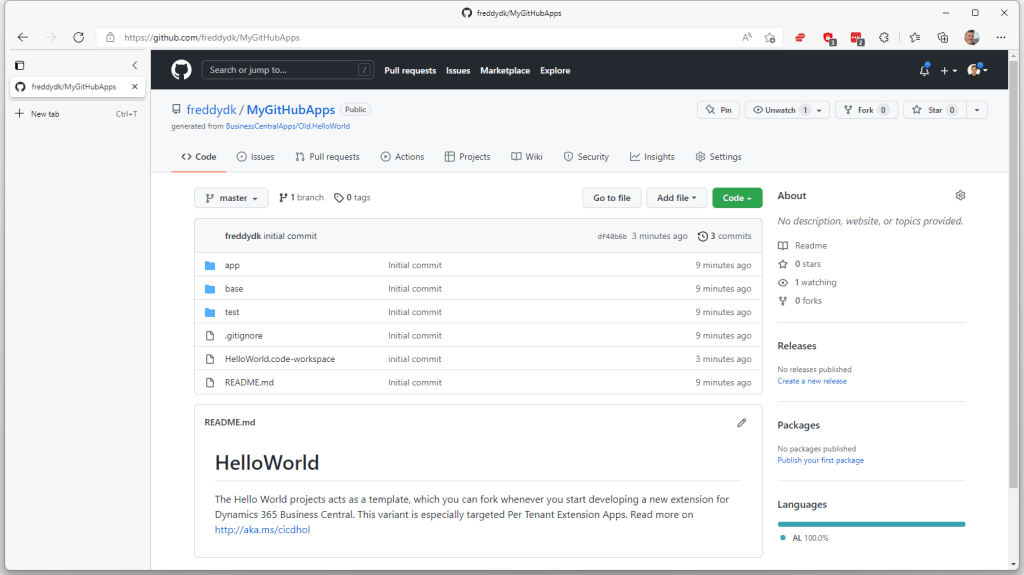
and like this in VS Code:

Download the PTE template to your computer and unpack the .zip file. Use the AppSource template if your app is an AppSource App. Copy the two folders: .AL-Go and .github
and paste them into your folder.

Modify the .gitignore file in VS Code and ensure that it contains these lines:
*.app
*.flf
TestResults.xml
BuildOutput.txt
rad.json
.output
.alcache/
.altemplates/
cache_*

Now, Stage, Commit and Push your changes to the repo.

Go to Actions, select CI/CD and click Run Workflow

The reason why the workflow didn’t start automatically is, that the workflow wasn’t there at the time of checkin. Every subsequent push to the repository will cause a CI/CD workflow to run.
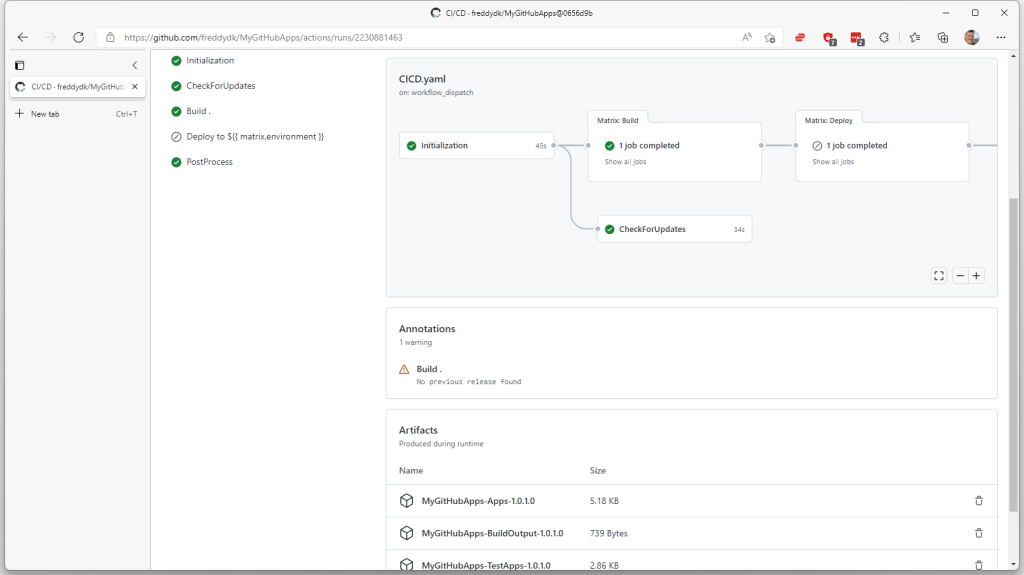
After a while, you should see that the CI/CD pipeline completes and your artifacts are generated…
From Azure DevOps (if you are “just” using it as a source code repository)
In your browser, navigate to https://aka.ms/al-go-pte (for PTEs) or https://aka.ms/al-go-appsource (for AppSource apps) and click the Use this template button.
Select an organization, a name and the visibility of the project.

Download the content of your repo and place the .zip file on Dropbox or somewhere else, where you can get a direct download url to the file (read how-to here).
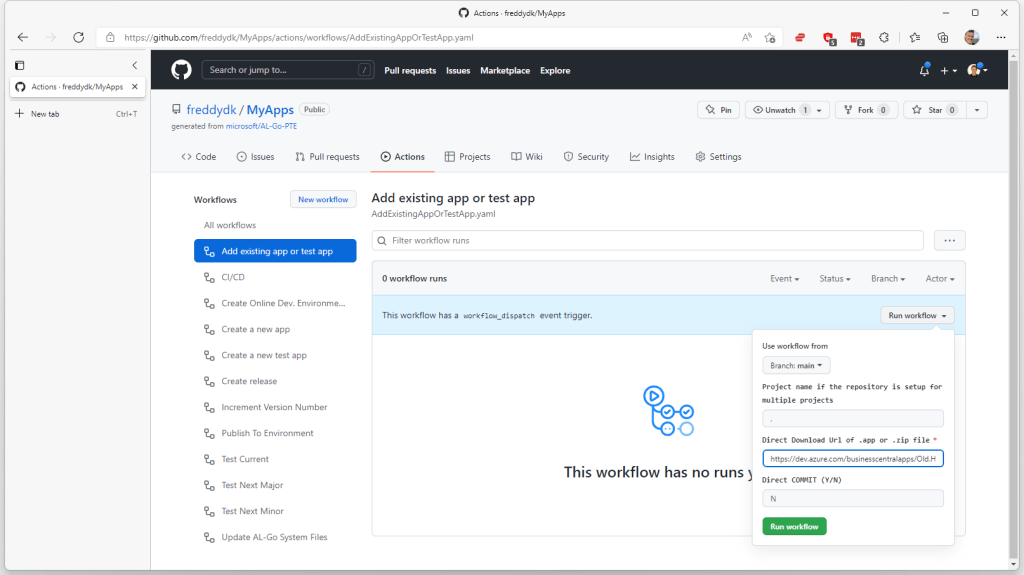
Under Actions, select Add existing app or test app, press Run workflow and paste the direct download url to your .zip file (you can try this url is you like). Select N to Direct Commit and click Run Workflow.

After a few minutes, the workflow is done and you can see the Pull request added under Pull Requests.

Merge the Pull Request and you will see that a CI/CD workflow is started automatically and will complete successfully. You should also see that the pipeline builds all apps and runs the tests in all test apps.
From nothing (if you just have the source code on your laptop)
In your browser, navigate to https://aka.ms/al-go-pte (for PTEs) or https://aka.ms/al-go-appsource (for AppSource apps) and click the Use this template button.
Select an organization, a name and the visibility of the project.

Locate your source files on your laptop
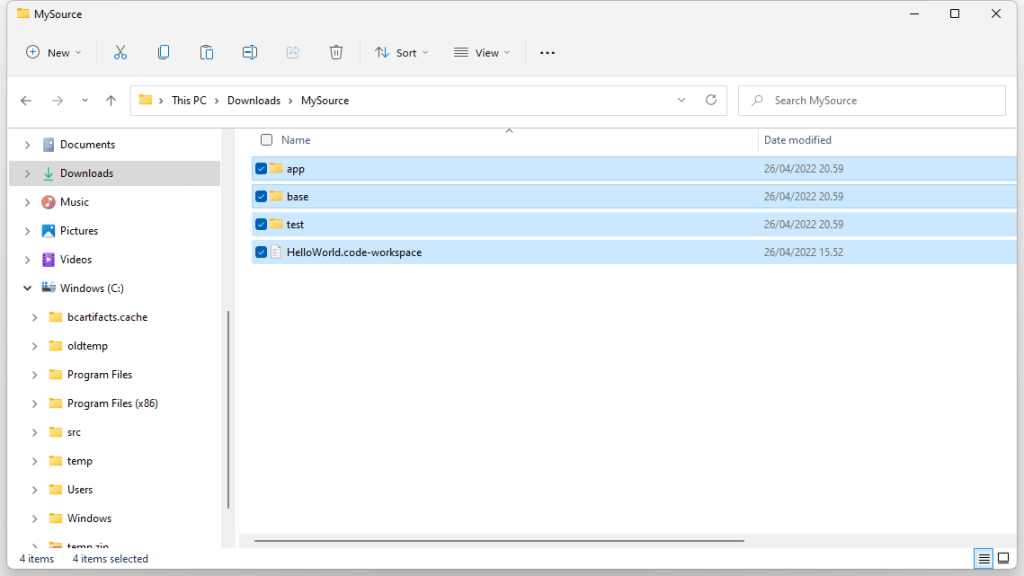
and simply drag and drop the files into your GitHub project

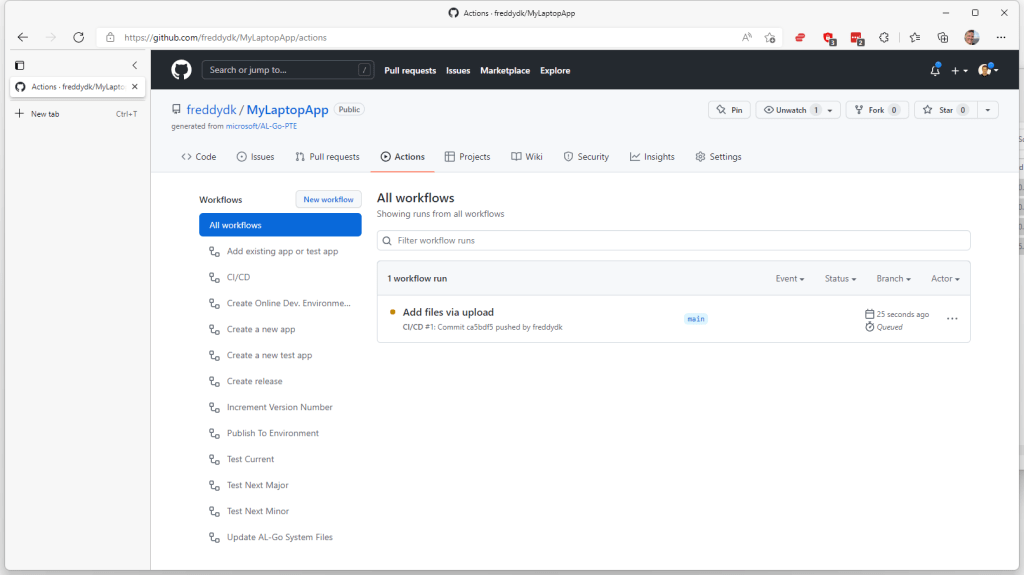
Commit the changes and you should see that the CI/CD workflow automatically starts and completes if all apps can build and tests can be run.
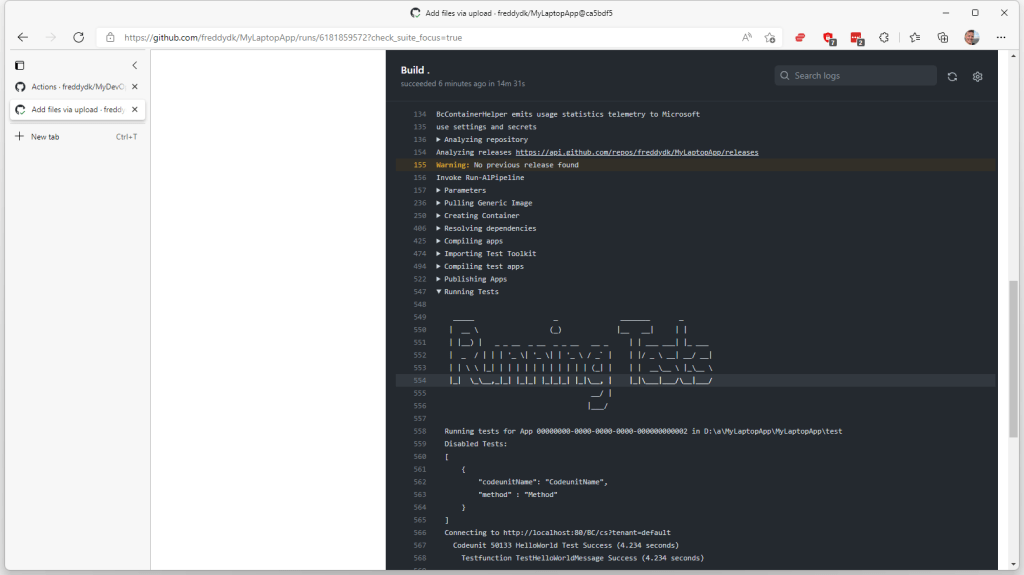
Navigating into the pipeline output, you will see familiar output of compiling, publishing and running tests
From nothing (if you just have some .app files, but not the source code)
In your browser, navigate to https://aka.ms/al-go-pte (for PTEs) or https://aka.ms/al-go-appsource (for AppSource apps) and click the Use this template button.
Select an organization, a name and the visibility of the project.

Place your .app files in a .zip file and place it on Dropbox or somewhere else, where you can get a direct download url to the file (read how-to here).
Under Actions, select Add existing app or test app, press Run workflow and paste the direct download url to your .zip file (you can try with this url if you like). Select N to Direct Commit and click Run Workflow.
After a few minutes, the workflow completed, and you can see the Pull request added under Pull Requests.

Merge the Pull Request and you will see that a CI/CD workflow is started automatically, and when completed, it makes all build artifacts available on the build

Common questions you need to consider
As you might guess, migrating to AL-Go is not just to move your code and make it build. You also need to ask yourself some questions on how to do things. First and foremost – the build part of the version number of your app is autoincremented, starting at build #1 – you might have a higher version our there already. Below are some questions, which each will have their own blog post.
The structure of your repositories
What apps should be in the same repository and which apps should be in individual repositories – how do you want to structure your repositories.
Stay tuned for a blog post on structuring your GitHub repositories.
branch name
Your main branch must be named main. The CI/CD pipeline automatically triggers on the main branch and on Pull Requests. If your main branch is called master, you need to rename it (Settings -> branches -> rename default branch). Beside the main branch, you need to decide on how you develop, do you allow people to just check-in code directly or do you do feature branches, code reviews and pull requests
Stay tuned for a blog post on branching strategies
Versioning of your app
AL-Go is automatically applying build and release number to your apps. The build number is the RUN_NUMBER assigned from GitHub which with the move to AL-Go for GitHub gets reset. This might mean that your app will get version numbers which you already shipped. You can add a setting called RunNumberOffset and set that to the previously build app build number +1 – or you can increase the minor or major part of your app version.
Stay tuned for a blog post on versioning and release strategy
Secrets
In every DevOps setup, there will be a number of secrets. That could be the license file, authentication token to Business Central Admin Center, the Insider Sas Token or other things. Where do you store those securely. AL-Go for GitHub supports GitHub secrets or Azure KeyVaults, but what is the right choice for you?
Stay tuned for a blog post on secrets
Deployments
How are you going to deploy your app? Are you going to make continuous deployment of your app to QA environments and how do you go around doing that?
Stay tuned for a blog post on deployment
With that – I have plenty of things to write about over the upcoming days…
Enjoy
Freddy Kristiansen
Technical Evangelist

Thanks for this. Safe to say I am “staying tuned” for the follow up blog posts 🙂
LikeLike
Thanks Freddy! As always you take a lot of burden from us and let us focus on code instead of all the technical details we are exposed to nowadays.Highly appreciated!
LikeLike
I would say “a best effort” to ensure good usage of pipelines and quality of Apps on Business Central.
Insightful! Glad to read through this post. Planning to bring in practice within our team. 🙂
LikeLike